
Aloha all! I'm Joanne and it's my turn to do a tutorial for Frosted Designs.
If
you are anything like me, I am always looking for ways to save money
on my crafting supplies! Here is an easy one that you can do. Instead
of buying the plastic "bubble" pieces for making shaker cards, use the
little plastic containers that brads, buttons, beads and such come in.
A few simple supplies you will need:
Small plastic pieces from brad container or such
Card stock
Two sided tape
Goodies for inside the shaker
Two sided tape
Goodies for inside the shaker
1. Cut plastic piece apart (if it is more than one unit like the one in pic), leaving small edges on each side

2.
Cut main card piece (A), Cut backing (B) that will cover back of front
card stock (C), Cut front card stock and the holes the size of your
plastic shaker piece (C)


3. Apply two sided tape to back of card stock (C) around open cut areas to secure your plastic shaker piece

4. Insert the plastic shakers and push down on them to secure to tape

5. Apply two sided tape on top of all edges of shaker pieces

6. Fill shaker pieces with beads, glitter or your choice of goodie.

7. Apply two sided tape around all edges of backing piece (B)
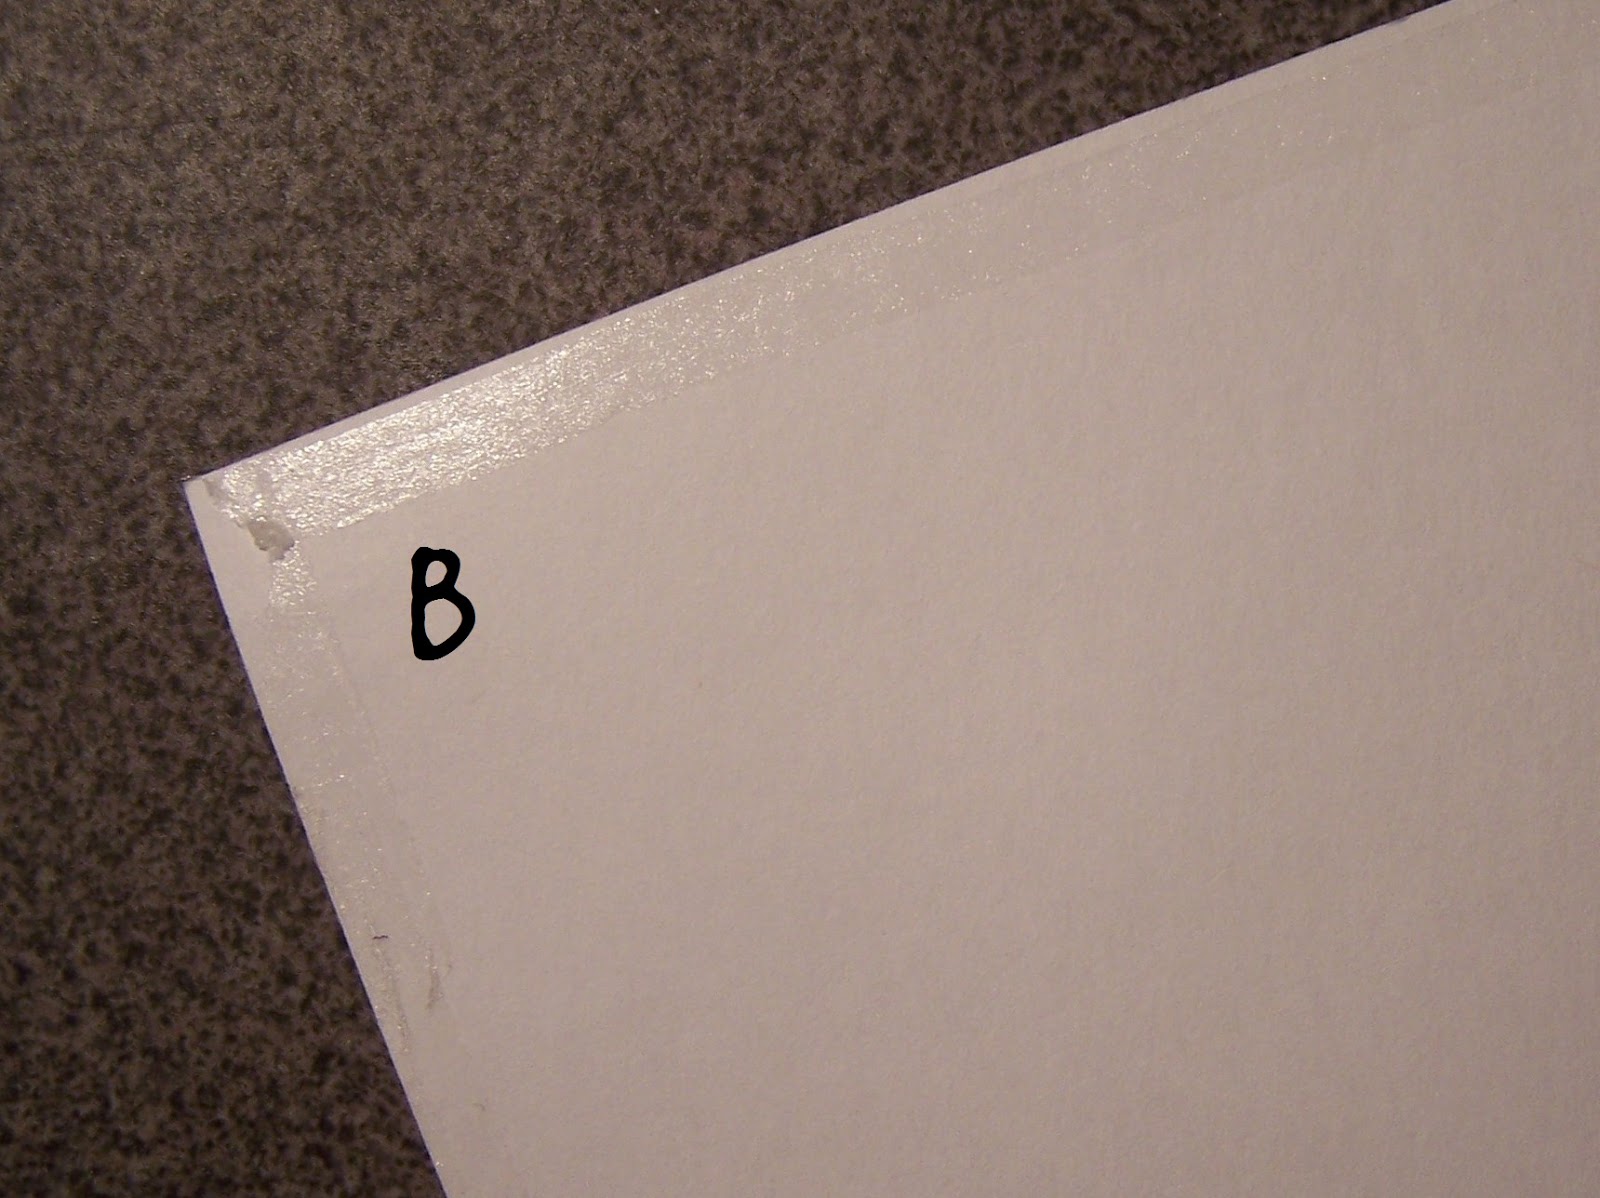
8. Attach backing (B) to card stock (C) to cover the shaker pieces.

9. Decorate your card as you like

9. Decorate your card as you like

VOILA! You have an ez-peezee shaker card! Enjoy!
A great idea Jo, and a fab card :o)
ReplyDeleteJackie xx
Joanne you are so clever!!!! Love this idea so much. Thanks for the lovely comments you have left on my blog too
ReplyDeleteBig hugs to you
Sarah x
thanks for the great tutorial, Joanne - I've often wondered if those small plastic containers could be used on cards. I think they look fab on your card filled up as they are. CoB
ReplyDelete